PixKit
 › Photo size guides › 20 KB
How to Reduce a Photo to 20 KB
Shrink any photo or signature to under 20 KB as a JPG, right in your browser. Step-by-step, with the pixel sizes that usually fit and a one-click preset link.
Open PixKit with these settingsAbout the Compress Image tool
The target at a glance
| Target | Under 20 KB |
|---|---|
| Format | JPG (PNG or WebP optional) |
| Typical pixel size | 300 × 400 px or smaller |
| Upload to a server | Never — runs on your device |
When you need this
20 KB is a tiny file — about the size of a short text document. It is a common ceiling for signature and thumbnail uploads on application forms, where the portal stores thousands of small images and sets a strict limit to keep uploads quick.
A phone photo is 3–10 MB, so you need to shrink it by a factor of 200 or more. The trick is to reduce the pixel dimensions first and then let the compressor find the highest JPEG quality that still fits 20 KB. Doing it the other way round gives blocky, smeared results.
- Signature and thumb-impression uploads on application forms
- Small profile thumbnails and avatars
- Attachments to portals that cap each file at 20 KB
- Quick previews you want to send over a very slow connection
Step by step
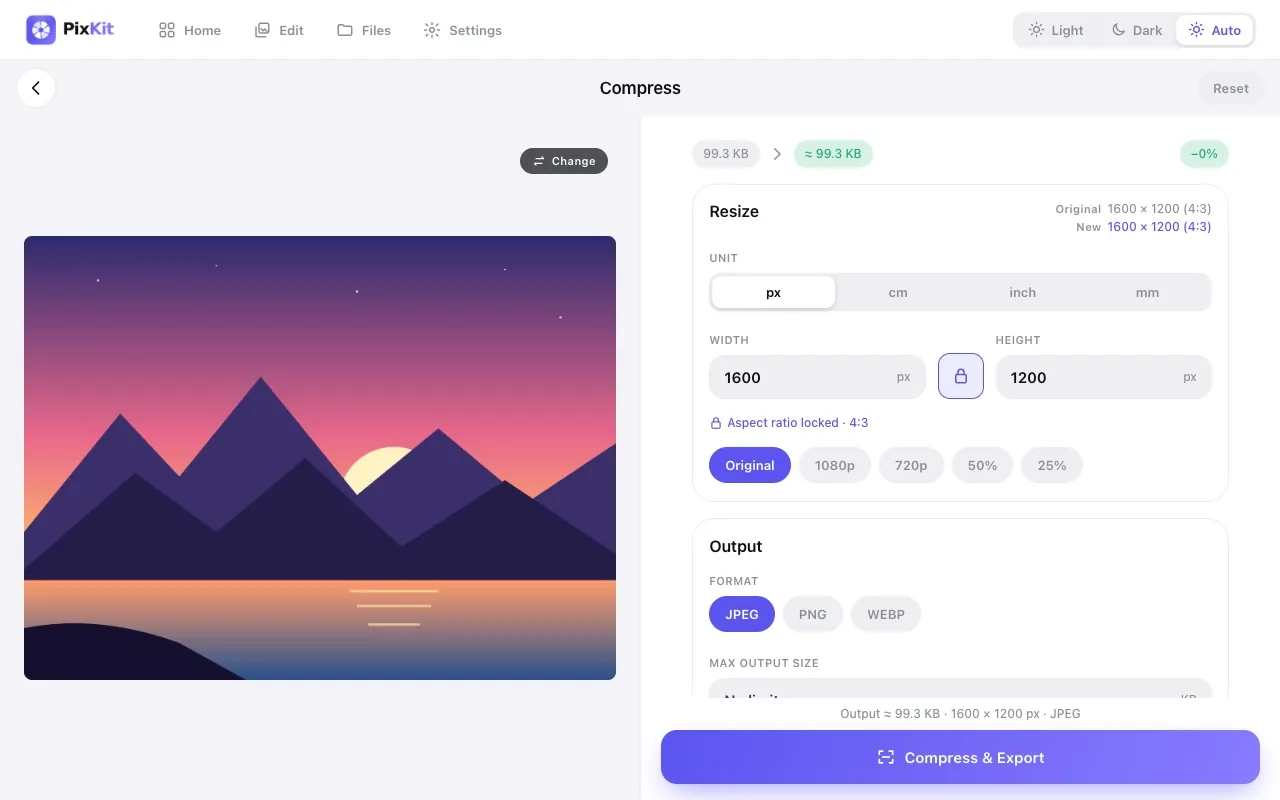
- Click Open PixKit with these settings. The tool opens with the size limit already set. Or copy this link:
https://www.pixkit.in/compress?max=20kb&format=jpg - Choose your photo. It stays on your device and is never uploaded.
- Check the preview. If faces or text look soft, crop empty areas or reduce the pixel size a little rather than lowering quality.
- Press Compress & Export, then Download. The result screen shows the final size and dimensions so you can confirm it.
Why uploads get rejected
- The photo is still thousands of pixels wide, so even the lowest quality cannot reach 20 KB.
- The file was saved as PNG, which ignores quality and stays large for photographs.
- Metadata (camera data, GPS, an embedded thumbnail) adds several kilobytes. PixKit’s size limit is applied to the finished file, including metadata.
- The portal needs a minimum size too. Going far below it can be rejected as “too small”.
Tips for a clean result
- Crop away empty background first. Fewer pixels means a smaller file at the same quality.
- Plain white paper and even light compress far better than a busy, grainy background.
- For a signature, use a dark pen on white paper and crop tightly; 20 KB is easy for simple line art.
- If the face or text looks too soft, raise the limit a little or reduce the pixel size further instead of lowering quality.
Always check the official notice. Requirements differ between portals and change over time. PixKit gives you the exact size and format you ask for, but cannot guarantee that a particular portal or authority will accept the file.
Frequently asked questions
What pixel size gives about 20 KB?
It depends on detail, but a face photo around 300 × 400 px or a signature around 400 × 150 px at moderate JPEG quality is usually in range. PixKit finds the quality automatically once you set the limit.
Will the picture look bad?
At this size you lose fine detail, but faces and handwriting stay recognisable if you resize first and keep the lighting even.
Is my photo uploaded?
No. The compression runs in your browser; the file never leaves your device.
Your photo stays private
PixKit does the cropping, resizing and compressing inside your browser. Nothing is uploaded, and there is no account. See the Privacy Policy.
Related guides
- How to reduce image size without losing quality
- Photo and signature size requirements for online forms
More size guides