 PixKit
 › Photo size guides › 100 KB
How to Compress an Image to 100 KB
Make a photo or scan under 100 KB as JPG, PNG or WebP without uploading it. Learn the pixel sizes that fit and avoid common quality mistakes.
Open PixKit with these settingsAbout the Compress Image tool
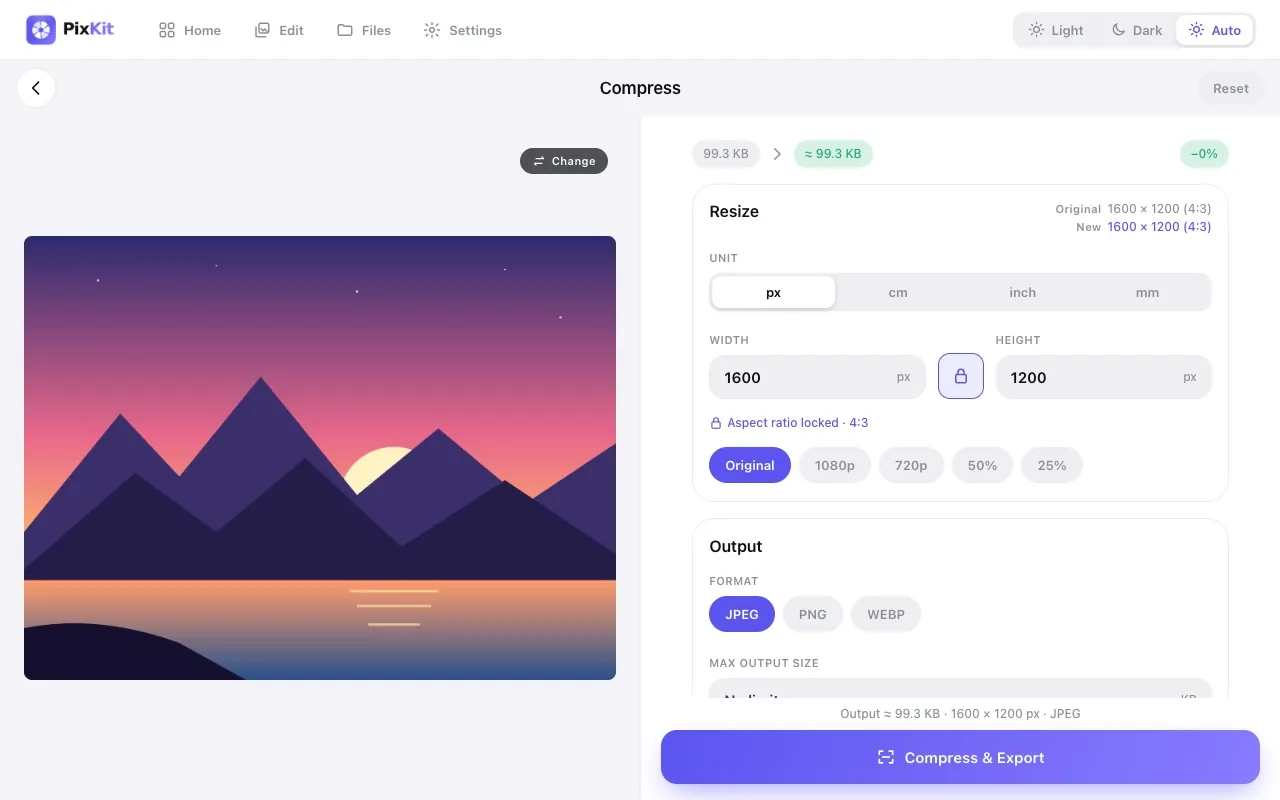
The target at a glance
| Target | Under 100 KB |
|---|---|
| Format | JPG (PNG or WebP optional) |
| Typical pixel size | 600 × 800 px or smaller |
| Upload to a server | Never — runs on your device |
When you need this
100 KB is a comfortable middle ground. It is large enough for a sharp portrait or a readable scanned page, and small enough for forms that reject anything over a hundred kilobytes.
The workflow is the same as for smaller limits, but you have room to keep more detail. The aim is to spend your 100 KB wisely: crop, resize to the display size, then compress once.
- Photographs and ID documents on forms with a 100 KB cap
- Scanned certificates and marksheets
- Product photos for marketplaces with small limits
- Images for emails and chat that arrive faster
Step by step
- Click Open PixKit with these settings. The tool opens with the size limit already set. Or copy this link:
https://www.pixkit.in/compress?max=100kb&format=jpg - Choose your photo. It stays on your device and is never uploaded.
- Check the preview. If faces or text look soft, crop empty areas or reduce the pixel size a little rather than lowering quality.
- Press Compress & Export, then Download. The result screen shows the final size and dimensions so you can confirm it.
Other versions of this link
| Variant | Open |
|---|---|
| WebP output | Openhttps://www.pixkit.in/compress?max=100kb&format=webp |
| Resize to 1200 px wide | Openhttps://www.pixkit.in/compress?w=1200&max=100kb&format=jpg |
You can edit the link to fit any requirement: change max and min (file size), w and h (size), dpi, format (jpg, png, webp) and bg (background colour).
Why uploads get rejected
- A scan of a full A4 page at phone resolution is several megabytes; shrink the pixels before compressing.
- Photographing a page at an angle adds blur and shadows that waste bytes — straighten and crop first.
- PNG scans of text stay huge; export as JPG or WebP unless you need transparency.
- Large metadata blocks can push a nearly-fitting file over the limit.
Tips for a clean result
- For scanned text pages, aim for around 1200 px on the long edge; for portraits, 600–800 px is plenty.
- Rotate sideways scans upright first, then crop out the desk.
- WebP is typically smaller than JPG at the same quality, if the destination accepts it.
- Try the Compress tool’s live preview to see the output size before exporting.
Always check the official notice. Requirements differ between portals and change over time. PixKit gives you the exact size and format you ask for, but cannot guarantee that a particular portal or authority will accept the file.
Frequently asked questions
Will text stay readable at 100 KB?
Usually yes for a single page at about 1200–1600 px. Dense small print may need a slightly higher limit.
Can I use WebP?
Yes, but many forms only accept JPG or PNG. Use WebP only when the destination says it is allowed.
Does it work for PDFs?
This tool compresses images. To make a PDF small, compress the image first, then use Image to PDF.
Your photo stays private
PixKit does the cropping, resizing and compressing inside your browser. Nothing is uploaded, and there is no account. See the Privacy Policy.
Related guides
- How to reduce image size without losing quality
- Photo and signature size requirements for online forms
More size guides