PixKit
How to Reduce Image Size Without Losing Quality
A practical guide to making photos smaller for forms, email and websites: resolution, formats, quality settings and the order to apply them.
Why image size matters
A modern phone photo is 3–12 MB. That is fine on your phone, but online forms often cap uploads at 100–500 KB, email services limit attachments, and heavy images make web pages load slowly. Reducing file size is rarely about throwing away quality — it is about not storing more detail than the destination can show.
Step 1: Reduce the pixel dimensions first
The biggest saving usually comes from resizing. A 4000 × 3000 photo has 12 million pixels, but a typical web layout shows images around 1200 px wide, and a passport-style upload field may need only 600 px. File size grows roughly with the number of pixels, so halving the width and height cuts the pixel count to a quarter.
Resize to the largest size the destination will actually display, then compress. Doing it in this order gives a sharper result than compressing a huge image heavily.
Step 2: Choose the right format
- JPEG is best for photographs. It discards detail the eye barely notices and is supported everywhere.
- WebP is typically 25–35% smaller than JPEG at similar quality and is supported by all current browsers.
- PNG is lossless and ideal for screenshots, logos and graphics with sharp edges or transparency, but photos saved as PNG are large.
If a form says “JPG only”, export JPEG even if your original is PNG.
Step 3: Pick a quality level or a size target
JPEG and WebP quality is a trade between size and fidelity. For most photos, quality 75–85 is visually indistinguishable from the original at normal viewing size while being far smaller. Below about 50 you start to see blocky patches and smeared edges.
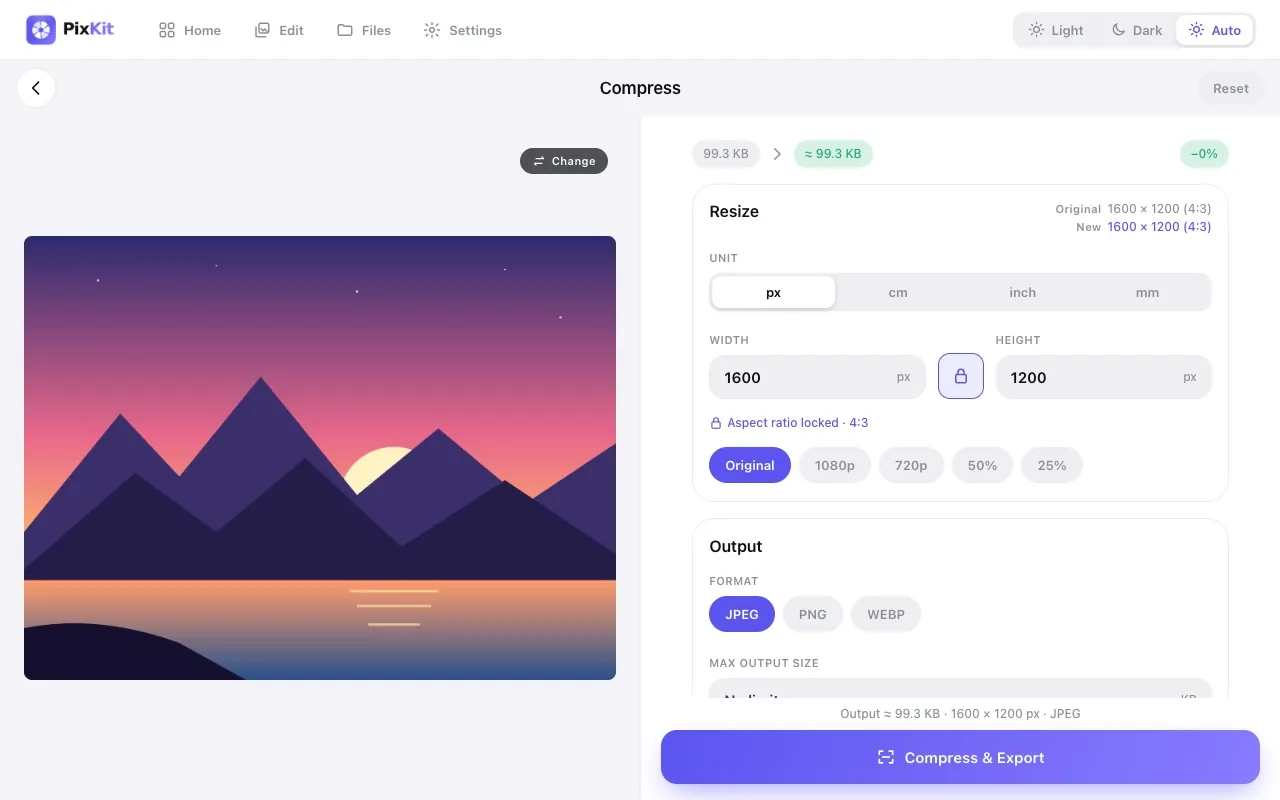
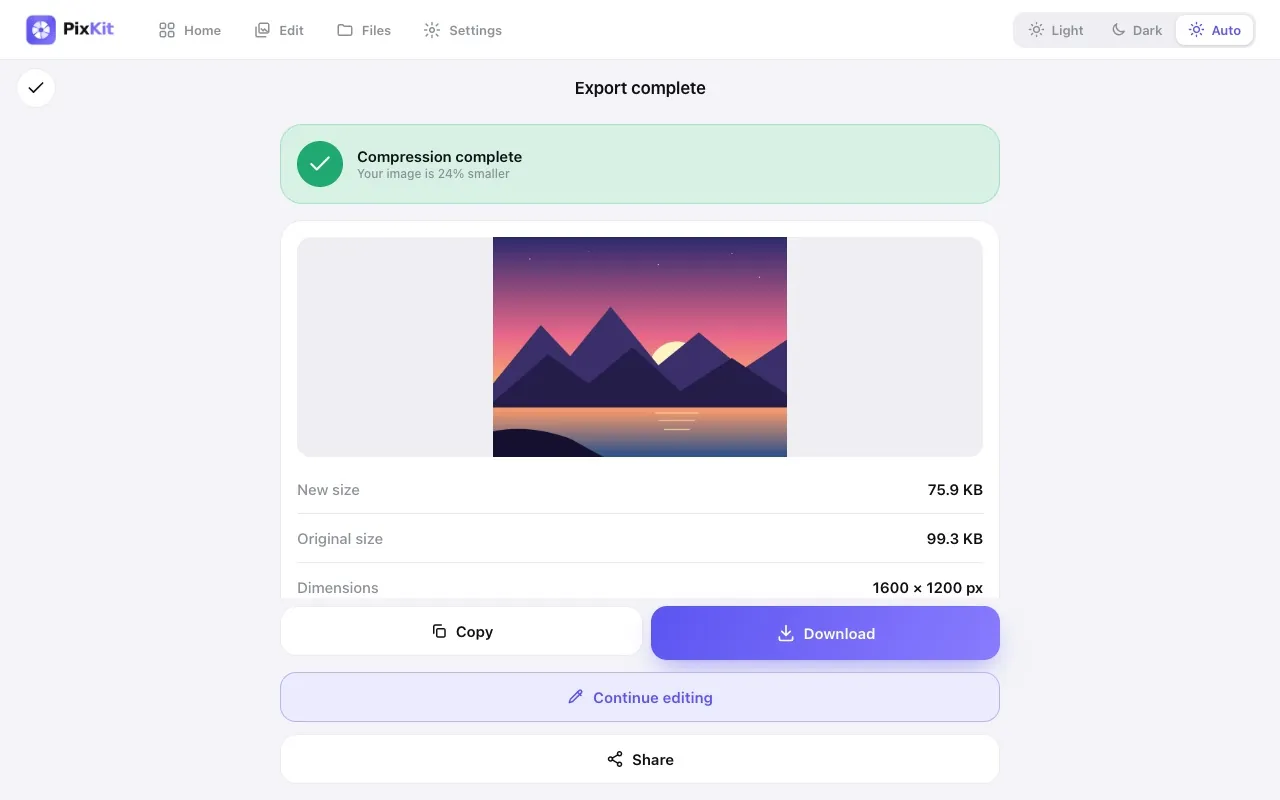
When you must hit a hard limit such as “under 200 KB”, use a size-target compressor. It tries different quality values and keeps the highest one that fits, which is better than guessing with a slider. The PixKit Compress tool does exactly this.
Step 4: Remove invisible weight
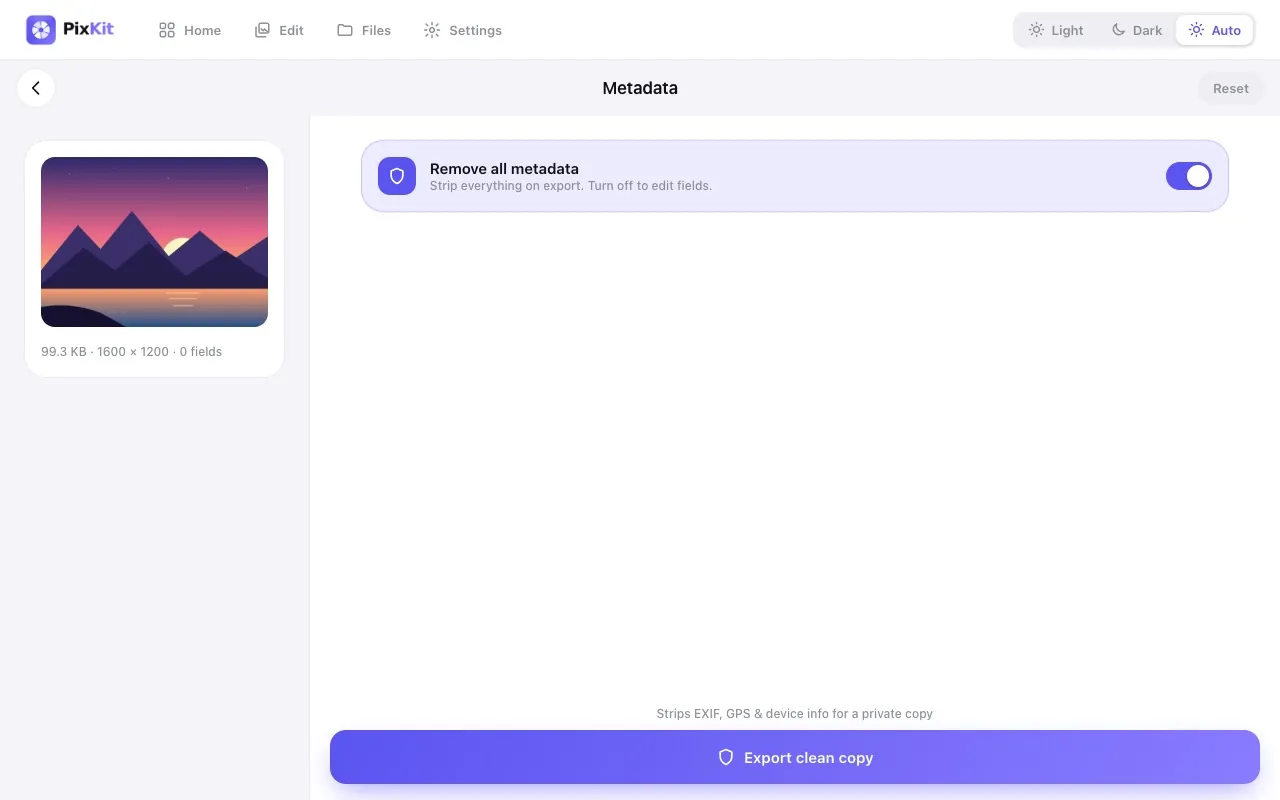
Photos carry metadata (camera info, GPS, thumbnails) that can add tens of kilobytes. Stripping it also protects your privacy. See our guide on removing location data from photos.
Common mistakes
- Repeatedly saving a JPEG: every re-save loses a little more detail. Keep your original and export once.
- Upscaling a small image: this makes the file bigger without adding detail.
- Using PNG for photos: switch to JPEG or WebP.
A quick recipe
For a typical “photo under 200 KB” requirement: resize the long edge to about 1200 px, export as JPEG, set a 200 KB target. Check the preview, and if text or faces look soft, raise the limit slightly or reduce the pixel size a bit more rather than lowering quality further.
Try Compress Image freeAbout this tool
More guides