PixKit
How to Rotate, Flip and Straighten Photos Online
Fix sideways photos, mirror an image and level a crooked horizon. Understand EXIF orientation and why some photos appear rotated in certain apps.
Why photos appear sideways
Phones record every picture in the sensor’s native direction and add a small “orientation” note to the file’s metadata saying how it should be turned for display. Most apps obey the note. Some forms, older software and websites ignore it, so the same photo looks perfect in your gallery but sideways once uploaded.
The fix is to bake the rotation into the pixels so the picture is the right way up everywhere — which is what PixKit’s Rotate tool does.
Step-by-step: rotate and flip
- Open the Rotate & Flip tool and choose a photo.
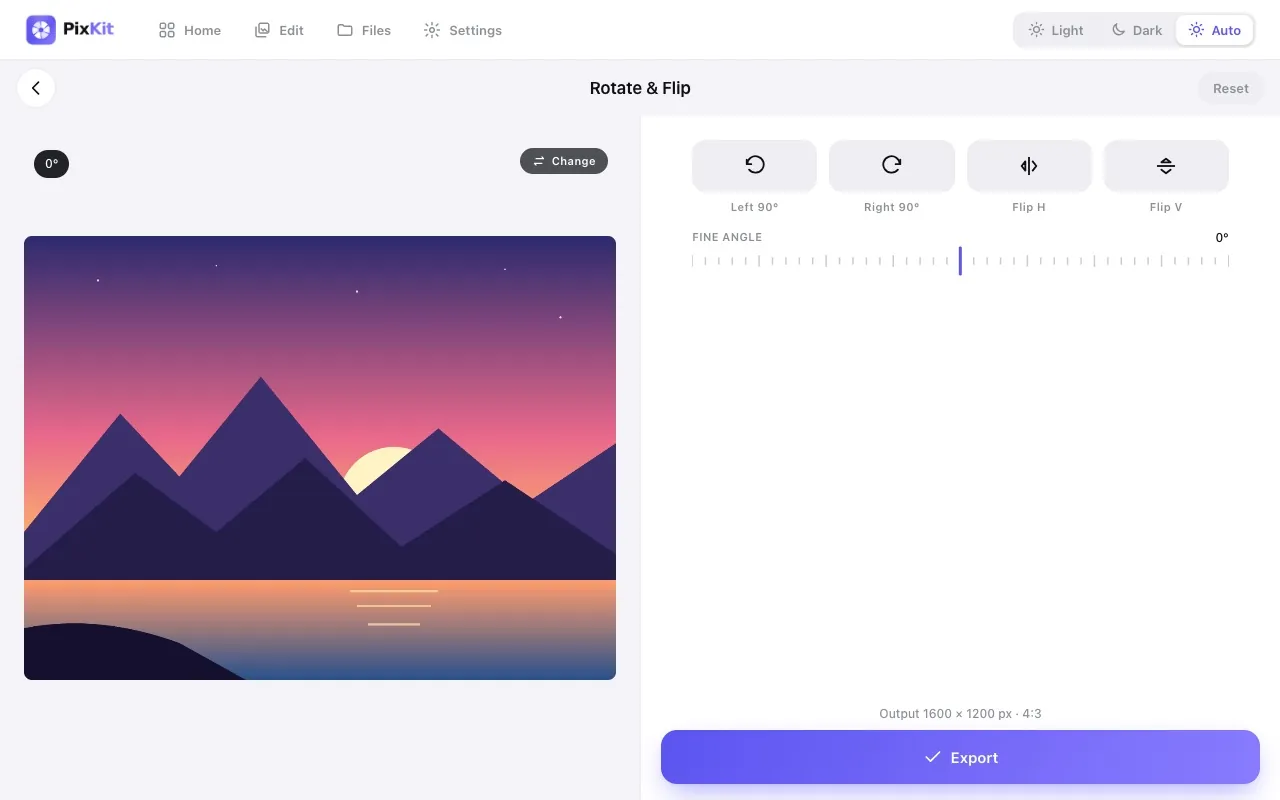
- Tap Left 90° or Right 90° until the picture is upright. A badge at the top-left of the preview shows the current angle.
- Use Flip H to mirror left-to-right or Flip V to mirror top-to-bottom.
- Press Export. Quarter-turn rotations and flips are lossless; the picture is only re-encoded once when saved.
Straightening a tilted horizon
Below the buttons is the Fine angle slider. Drag it a degree or two at a time until the horizon, a building edge or a table line looks level. The picture is rotated slightly, which means the corners are affected — you may lose a sliver at the edges or see a little fill. Small corrections — 1° to 3° — are usually all it takes.
Tip: use a grid or a strong straight line in the scene as your reference, and judge the result at full size.
When to flip an image
Front-camera selfies are sometimes saved mirrored, which reverses any text in the picture. Flipping horizontally corrects that. Be careful the other way too: flipping a photo that contains text, logos or a face you know well makes the result look wrong. Never flip documents, IDs or signatures.
Rotate first, then crop
If you also need to crop, fix the rotation first. Cropping before rotating forces you to crop again afterwards, and every correction you make after a crop sacrifices extra pixels. The recommended order is: rotate → straighten → crop → resize or compress.
Scanned documents
Phone scans are often slightly skewed. Use the Fine angle slider to level the text lines, then crop away the table around the page. If the result goes into a PDF, finish with the Image to PDF tool.
Try Rotate & Flip Image freeAbout this tool
More guides