PixKit
5 Mistakes People Make When Compressing Photos
Avoid blurry results and rejected uploads: the most common photo compression mistakes and what to do instead.
1. Dragging the quality slider to 10%
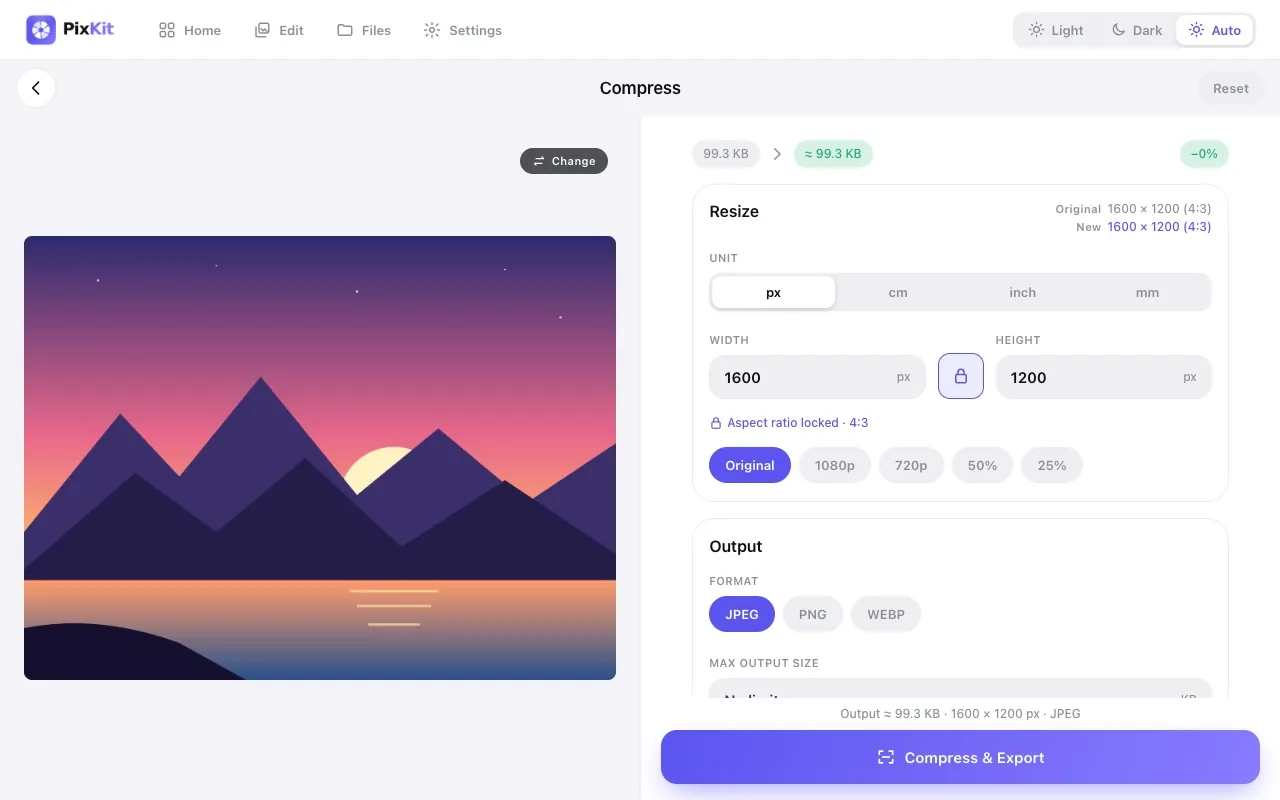
It seems logical: lower quality, smaller file. But the result is blocky and smeared long before it becomes tiny. Resize the pixel dimensions first; quality 70–85 on a smaller image beats quality 20 on a large one.
2. Compressing the same file again and again
Every JPEG save discards a little more information. If your first attempt was not small enough, go back to the original and try again with different settings instead of compressing the compressed copy.
3. Saving photos as PNG
PNG is lossless, so photographs stay huge. Unless you need transparency, JPEG or WebP will usually be 5–10 times smaller with no visible difference.
4. Ignoring the destination size
A photo shown at 600 px wide on a web page does not need 4000 px. Match the pixels to where the picture will appear. For print, think in centimetres and dots per inch rather than megapixels.
5. Guessing instead of setting a target
If a form demands “under 200 KB”, trial and error wastes time. Use a size target so the compressor finds the highest quality that fits.
Bonus: forgetting metadata
Camera and GPS data adds weight and reveals where the photo was taken. Strip it when sharing publicly.
Try Compress Image freeStep-by-step guides
Keep reading